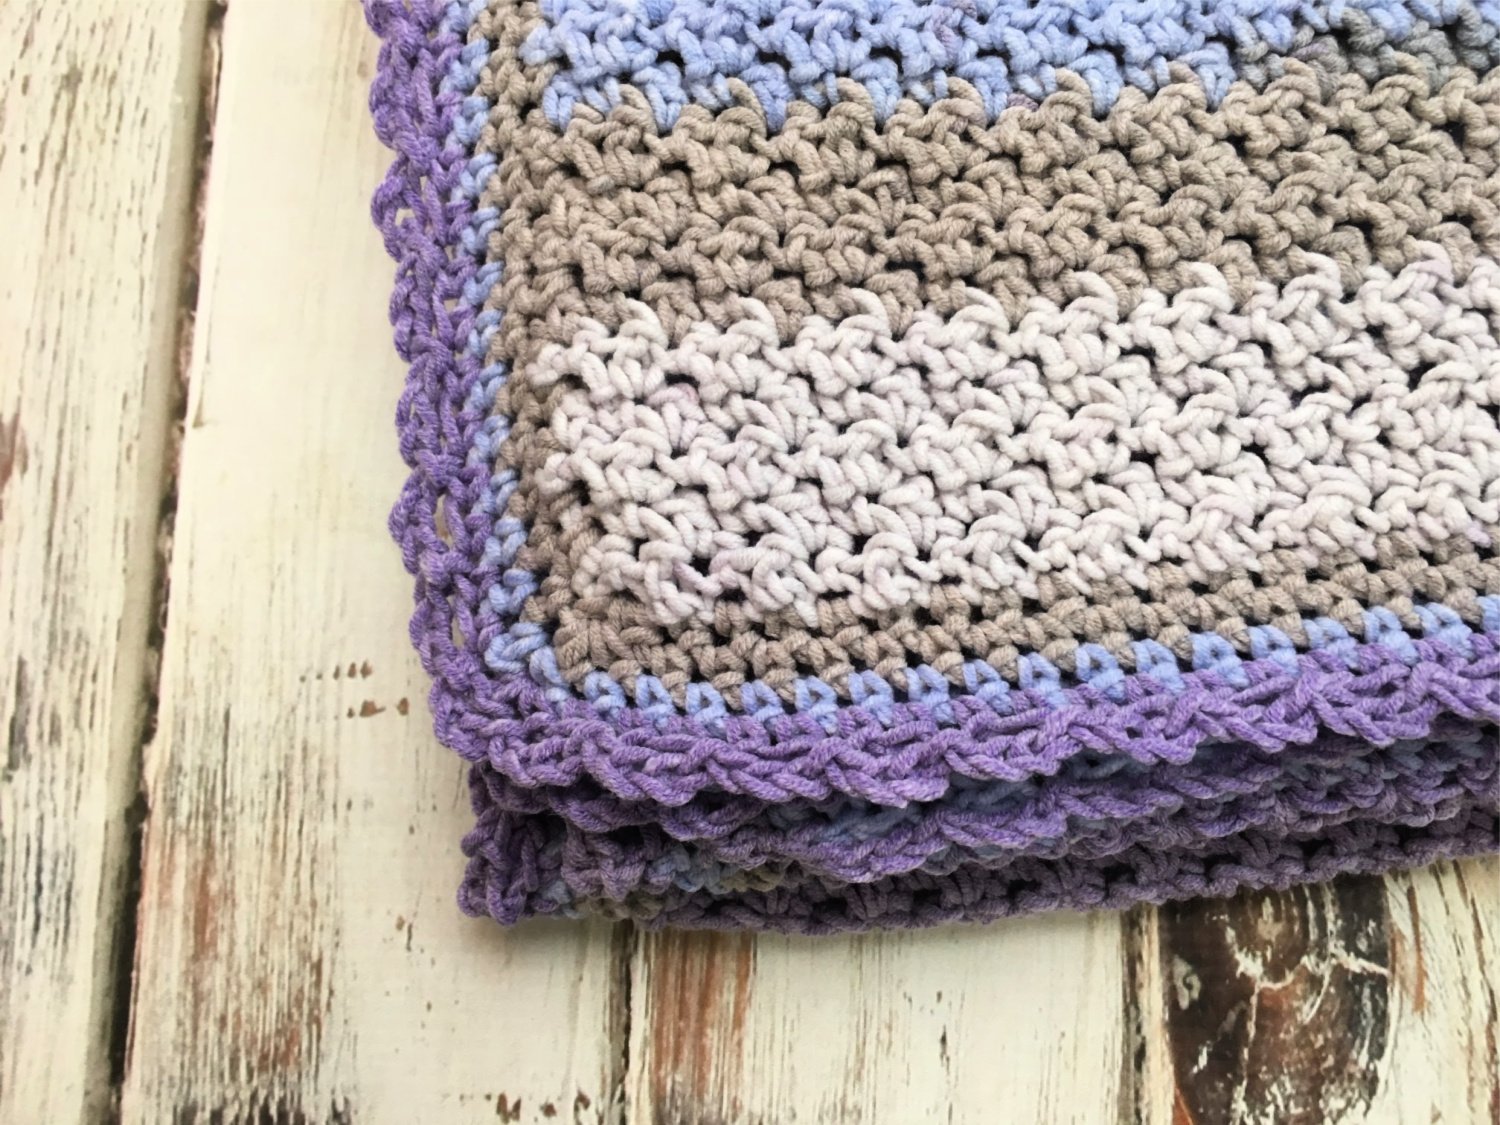
Adding A Border To A Crochet Blanket
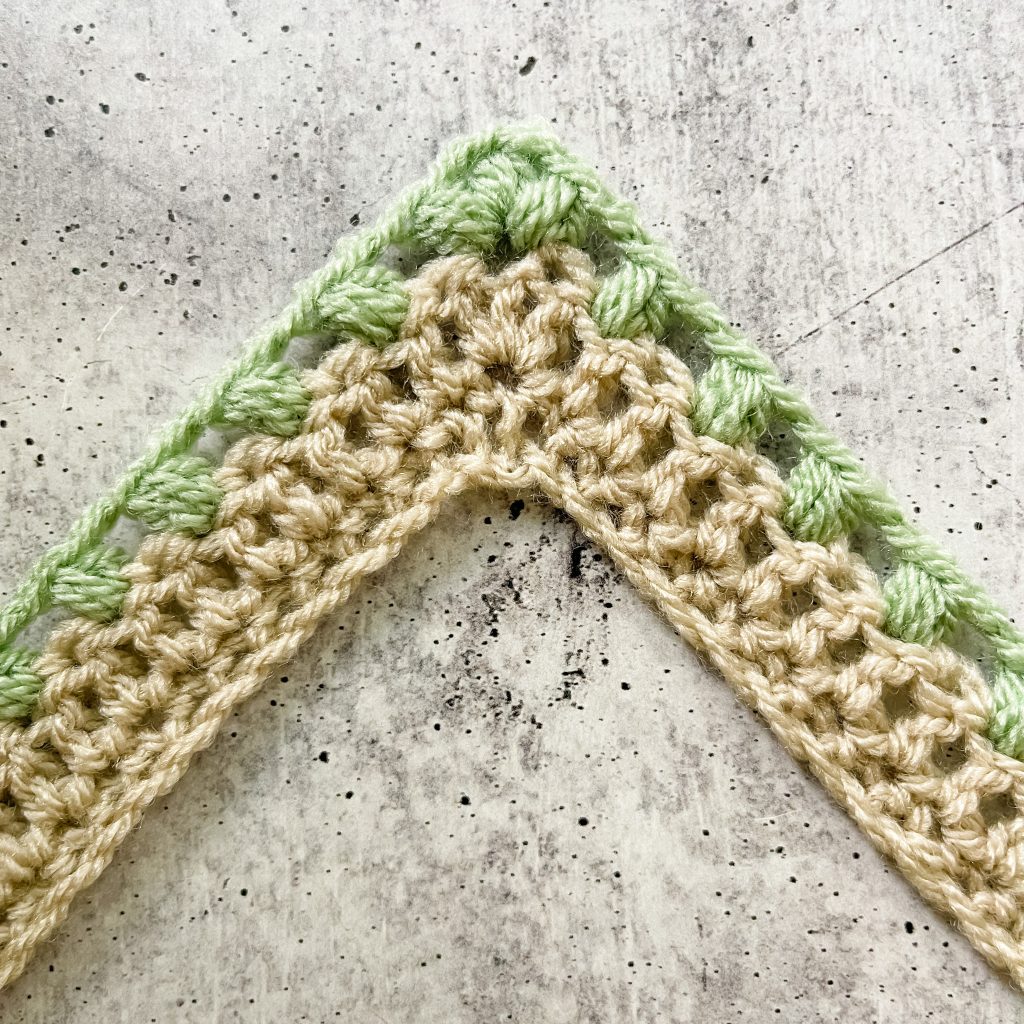
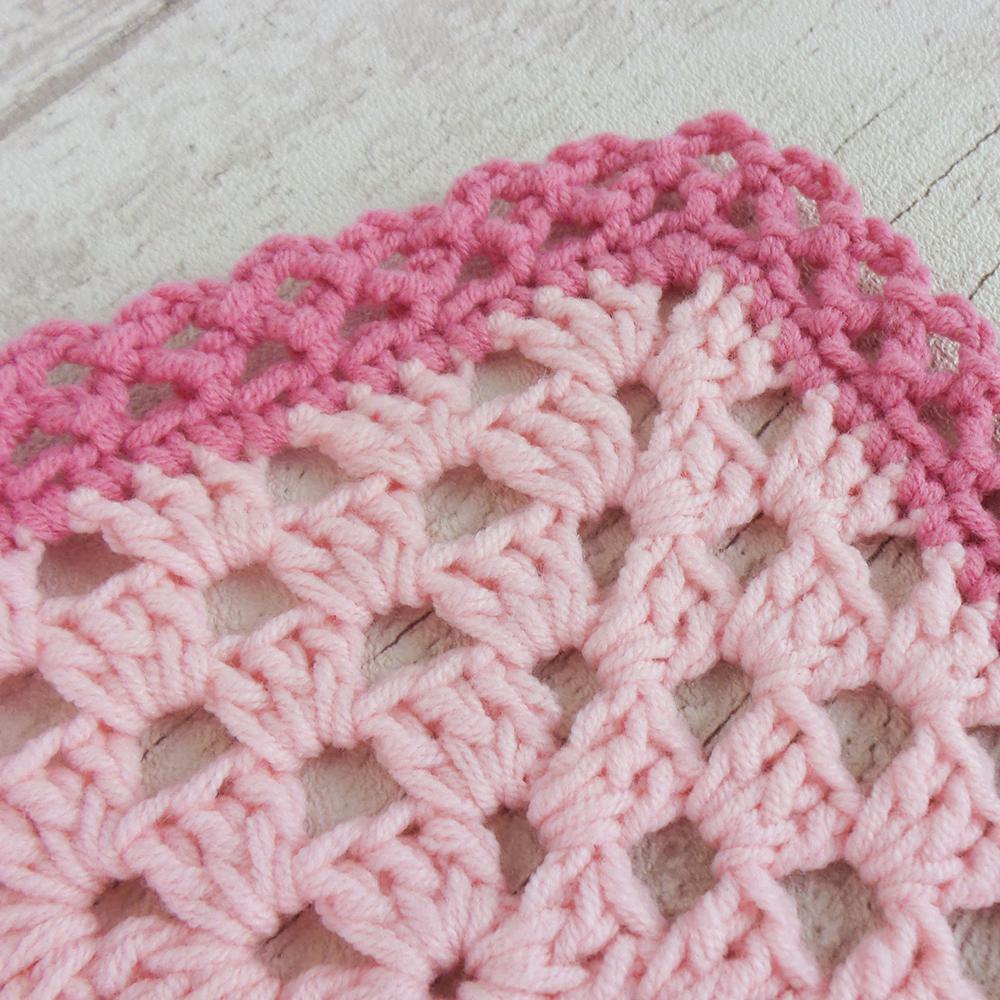
Adding A Border To A Crochet Blanket - Giving your crochet blanket that finishing touch you have been looking for. After chaining four, join the chains with a slip stitch by inserting your hook into the first chain. Feel free to continue this sequence to make the blanket as large as you’d like. When using a border like the crochet chain border, the border can be made on the edge of the blanket directly. Web hi everyone,many of you asked for a tutorial on how to add a border to your blankets. Then you will love today's tutorial! Finished blanket measures:40 x 42 inches. Web a basic, fast and easy border you will love. Web while not strictly necessary, adding a border to a crochet blanket is a great way to finish your project. You’ll also learn some of my best tips on how to make sure your borders are smooth and even and. Web adding a border to a crochet blanket is actually pretty easy once you get started, so here’s how it’s done. Web its a simple one row repeat pattern. If you've been curious to know how to create a fun, easy blanket border. Feel free to continue this sequence to make the blanket as large as you’d like. Slip knot and chain 72 (needs to be a multiple of 6) feel free to use a different kind of yarn if you like. In the 4th chain from hook place 2 dc. When using a border like the crochet chain border, the border can be made on the edge of the blanket directly. The candy cane crochet border is a must for the edging! Web while not strictly necessary, adding a border to a crochet blanket is a great way to finish your project. Pilar is the eighth floral granny square in the welcoming blanket, a mystery crochet along for a throw blanket made up of nine 12” floral granny square patterns with borders. Adding a border to your next crochet blanket isn’t compulsory. Web grab your yarn and hook, and start the pattern by chaining four. And it can be a fun way to customize your blanket to give it just the vibe you’re. If a crocheted border does nothing else, it cleans up your edges and helps to hide minor imperfections. Click. It’s a great way to add a simple border that won’t detract from the look of your project while still giving it a finished touch. If a crocheted border does nothing else, it cleans up your edges and helps to hide minor imperfections. Web borders are a great way to add the perfect finishing touch to your next crochet project.. Slip knot and chain 72 (needs to be a multiple of 6) feel free to use a different kind of yarn if you like. It’s a great way to add a simple border that won’t detract from the look of your project while still giving it a finished touch. A free version is also available. Adding a border to your. Web how to add a border to the “easy beginner crochet baby blanket tutorial” project. Sometimes before you get started on a border it helps if you can picture how many stitches spaces there are to work into around the edge of your blanket. Then you will love today's tutorial! If a crocheted border does nothing else, it cleans up. Once you finish that blanket you’ve been working on for days, weeks or months it’s time to finish it up with the perfect crochet border. With simple stitches you can use this crochet edging on any blanket size. Web adding a crochet border or edging is the perfect finishing touch for your blanket projects to give them a professional and. Once you finish that blanket you’ve been working on for days, weeks or months it’s time to finish it up with the perfect crochet border. Web borders are a great way to add the perfect finishing touch to your next crochet project. It only uses one stitch and can work with any blanket no matter the stitch count. Web looking. Web looking for a quick and easy border for your crochet project? This is a tutorial on the 'shell' or 'scalloped' edge.hope you enjoy. Web while not strictly necessary, adding a border to a crochet blanket is a great way to finish your project. Web adding a crochet border is a great way to enhance the finished look of your. For other borders, it is a good idea to give the border a solid foundation which is usually a round of single crochet stitches. Adding a border to your next crochet blanket isn’t compulsory. This pattern works very well with bulky yarns too. How many stitches to use. If a crocheted border does nothing else, it cleans up your edges. And it can be a fun way to customize your blanket to give it just the vibe you’re. Sometimes before you get started on a border it helps if you can picture how many stitches spaces there are to work into around the edge of your blanket. Web a basic, fast and easy border you will love. Borders can hide. If a crocheted border does nothing else, it cleans up your edges and helps to hide minor imperfections. 3 balls of blanket yarn. Then you will love today's tutorial! I stopped here and then added the candy cane edging. Web see the video tutorial for adding to single crochet, double crochet and for adding a border to c2c below. Borders can hide rough edges and add a touch of elegance. This pattern works very well with bulky yarns too. What’s more, they can hide any imperfections in the project and make your blanket bigger in the process. Web this list of simple crochet borders and edgings (with a few unique borders mixed in) are the perfect way to finish a blanket project. From easy borders, to advanced lace borders, to wide borders…there will be something here for everyone! Take a look at this collection of crochet borders and edgings in just 2 rows! Web 12” (30.5 cm) square. Web how to add a border to the “easy beginner crochet baby blanket tutorial” project. They also allow you to use different colors and stitches, giving your blanket a unique flair. Web looking for a quick and easy border for your crochet project? It’s a great way to add a simple border that won’t detract from the look of your project while still giving it a finished touch. Web adding a border to a crochet blanket is actually pretty easy once you get started, so here’s how it’s done. Feel free to continue this sequence to make the blanket as large as you’d like. Web learn how to add an easy crochet border to your blankets. Sometimes before you get started on a border it helps if you can picture how many stitches spaces there are to work into around the edge of your blanket. Here’s a great example of a blanket which combines super bulky yarn and rich, saturated colors to make a big statement.
27 Free Crochet Borders and Edgings for Blankets Sarah Maker

8 Crochet Easy Borders For Blanket Tutorials The Yarn Crew

Add a Border to the Easy Crochet Baby Blanket Tutorial
How To Put A Border On An Uneven Crochet Blanket

Add a Border to the Easy Crochet Baby Blanket! YouTube
5 Crochet Borders To Try RIGHT NOW! TL Yarn Crafts
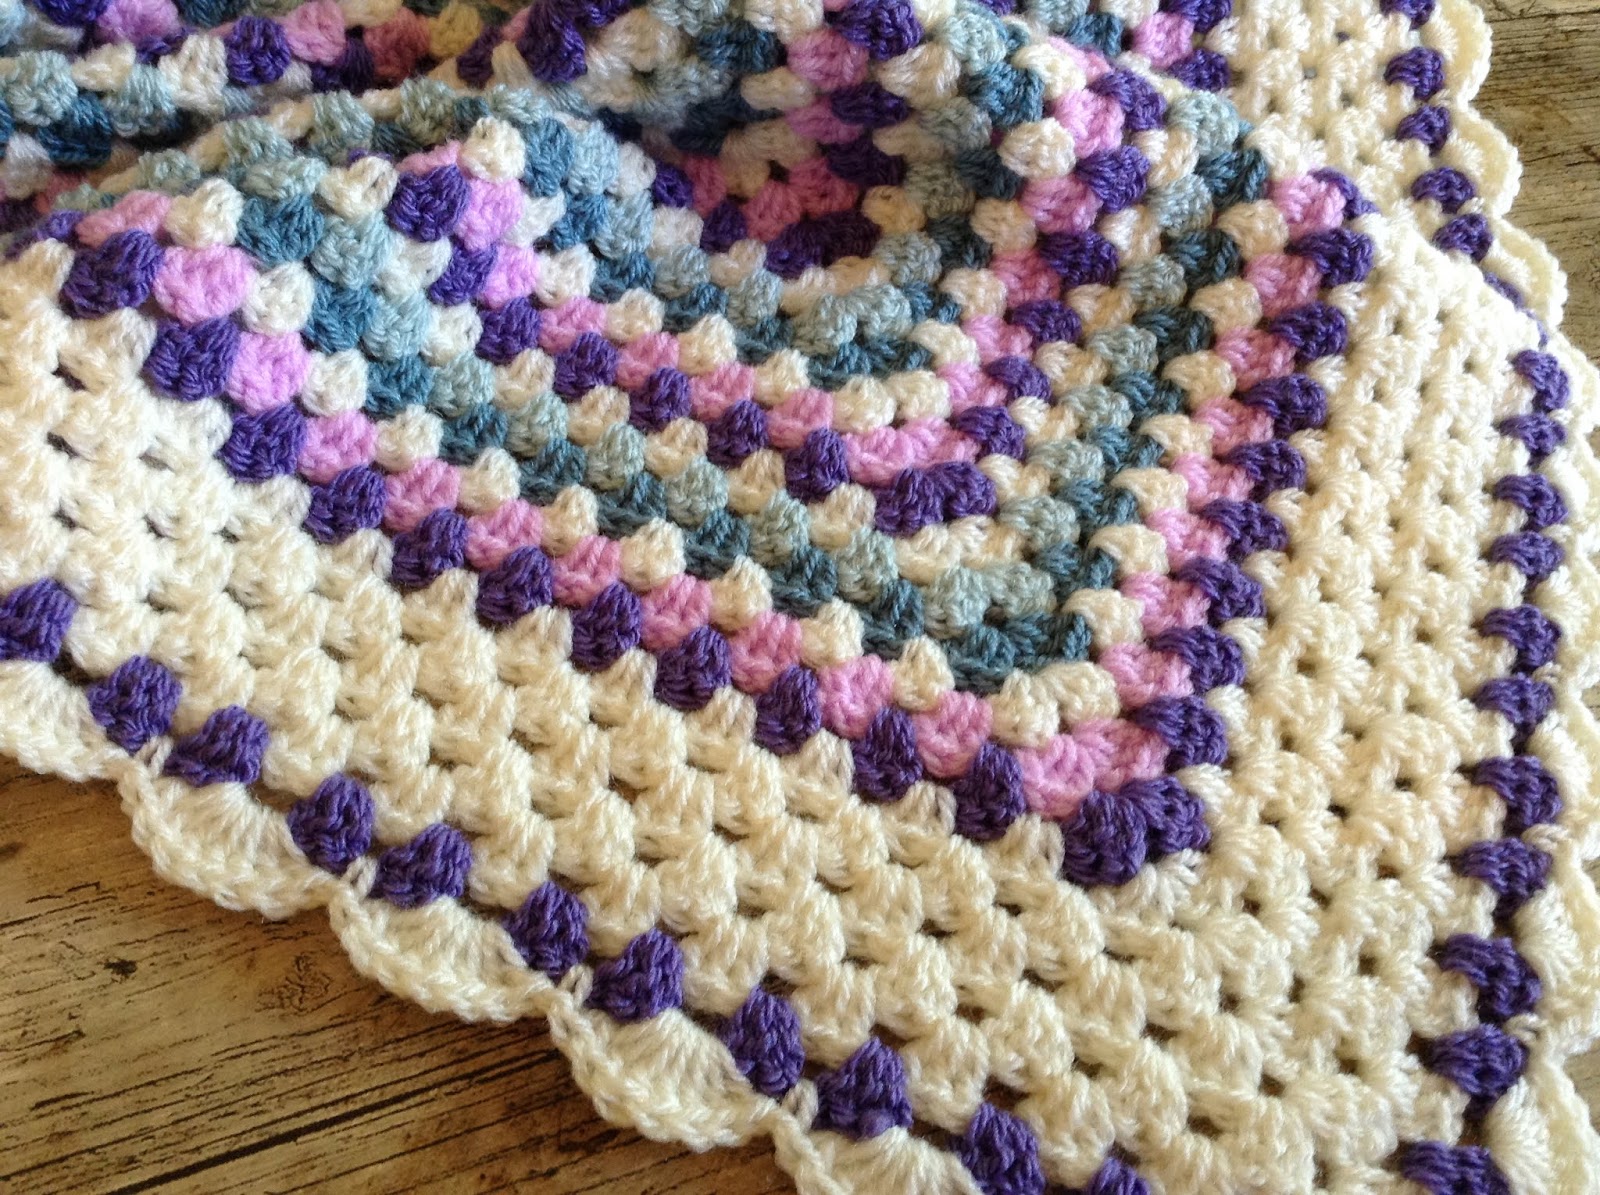
Lullaby Lodge How to add a simple shell border to a granny square baby
Crochet Border For Granny Stitch Blanket Amelia's Crochet

Beautiful Crochet Edgings, Blanket Borders and Trims. Free Patterns
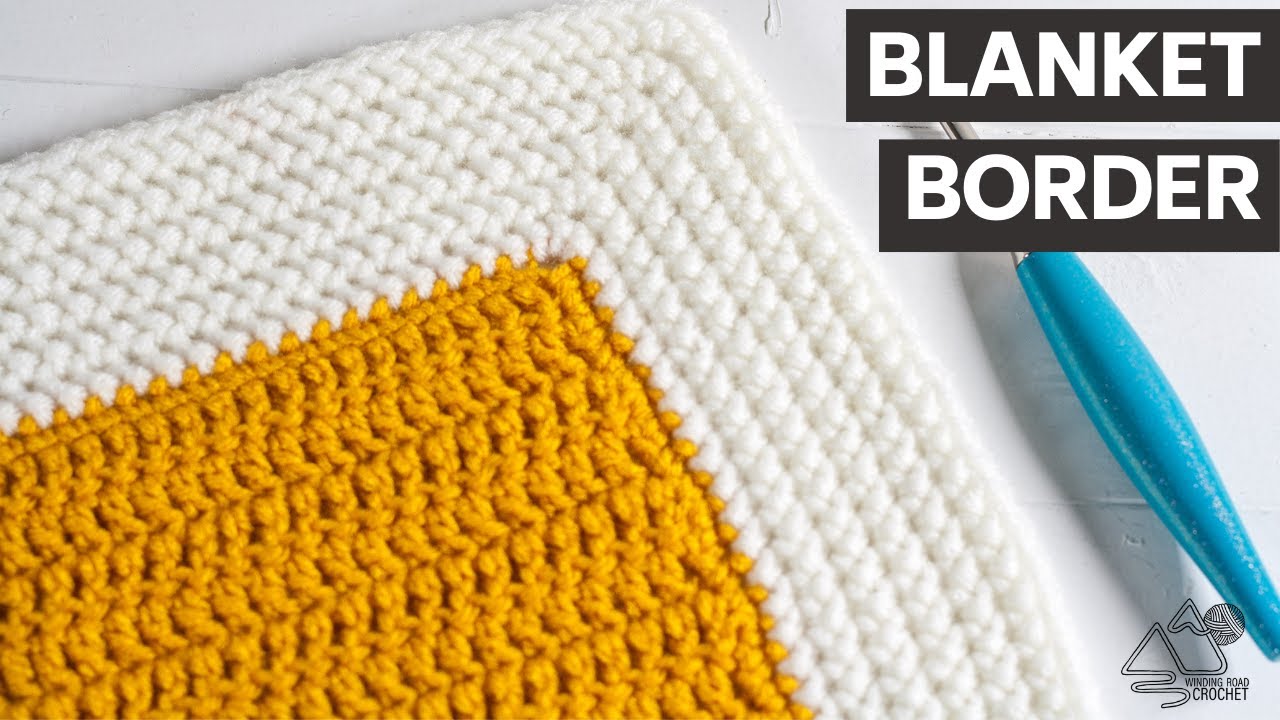
CROCHET Easy Blanket Border that works on any Blanket YouTube
Web Borders Are A Great Way To Add The Perfect Finishing Touch To Your Next Crochet Project.
It Only Uses One Stitch And Can Work With Any Blanket No Matter The Stitch Count.
How Many Stitches To Use.
A Free Version Is Also Available.
Related Post: